Termite control was something that we never really appreciated until we experienced firsthand the damage that the insects have caused to our most expensive investment – our home!
Indeed, nothing strikes more fear into homeowners than termites, especially once they feel the pain of repair after the damage has been done.
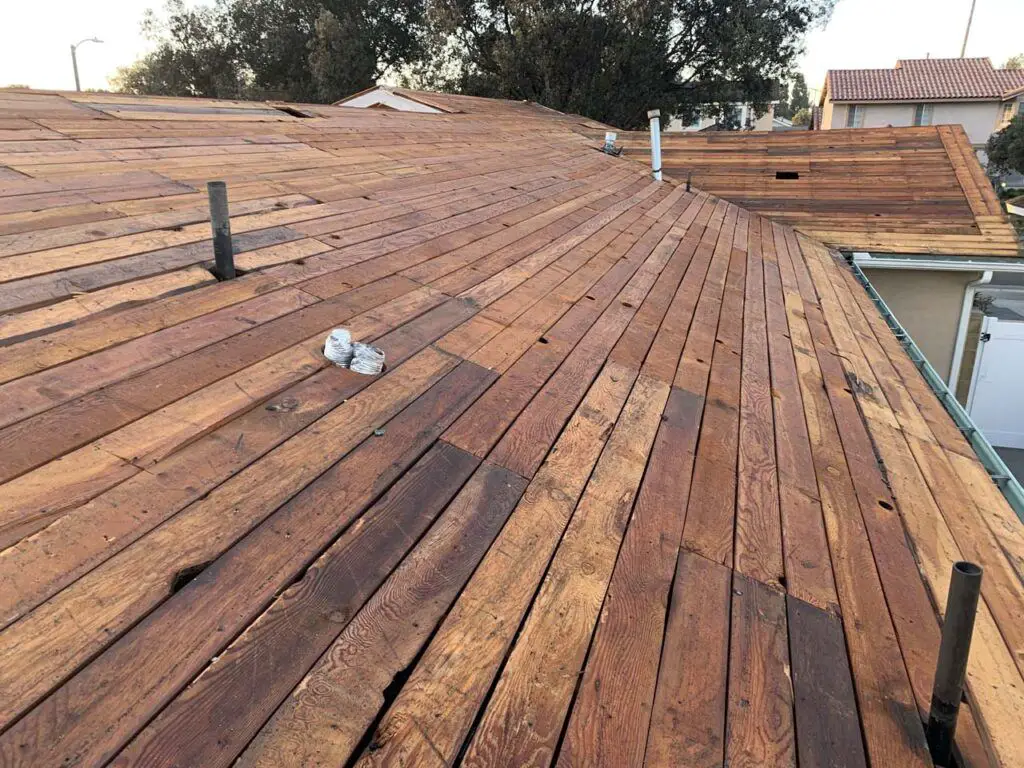
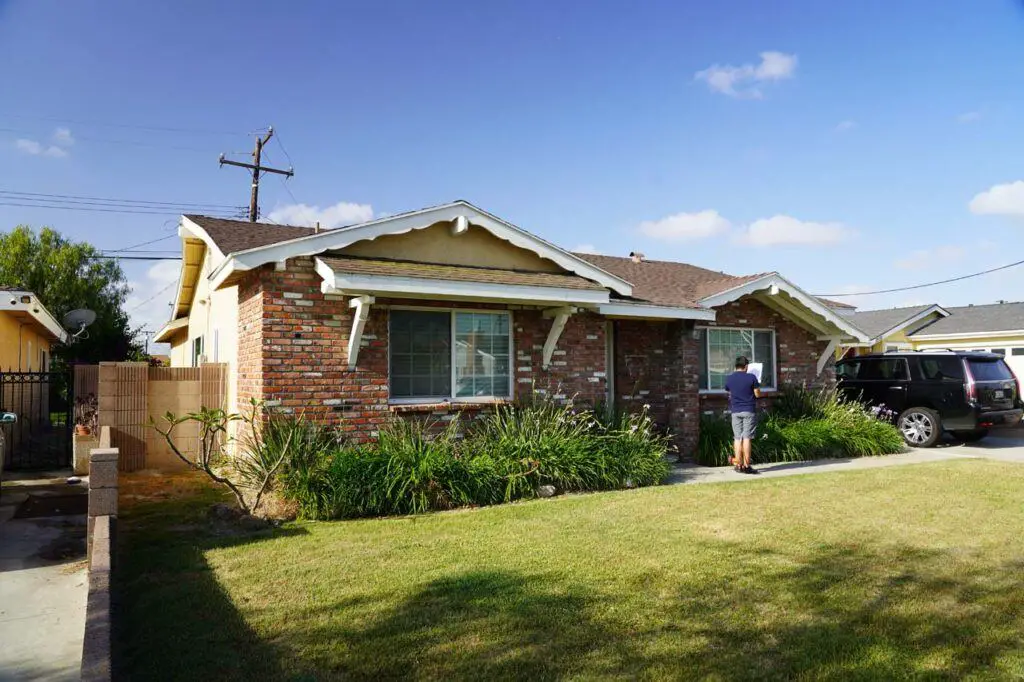
In our situation in Southern California, we only appreciated the extent of our termite problem after trying to go solar, which involved re-roofing.
It was only when we realized how much wood needed replacing after the old roofing material had been removed that we took steps to get on top of our termite problem.
And that started the chain reaction of painful discoveries that reminded us why homeownership can be a real headache!
Why Bother With Termite Control?
Without getting too bogged down with the details of why we’re stuck with using wood as the primary building material, the reason why we care about termite control is cost.
Just to give you an idea of how much we had to pay in our situation, we wound up paying over $15,000 in termite eradication, repair, and preventative measures.
This doesn’t count the $20,000 we spent on re-roofing the house, which was a necessary step to install the solar panels.
I don’t know about you, but having to pay the cost of a new car (or about 5-10% the cost of a new home when we bought ours) for the purposes of home repair is not my idea of fun.
So you can see how such expenses can wipe out a savings account intended for the best-laid long-term plans (e.g. university, rainy-day fund, a family vacation, etc.).
How Did We Control Termites For Our Home?
Now that we’ve established why it’s an ongoing battle to protect the home against termites, here’s how we turned around our situation in 5 steps.
Note that while Step 1 and Step 4 should be done first and next-to-last, respectively, there’s some overlap in Steps 2 and 3 depending on the work to be done.
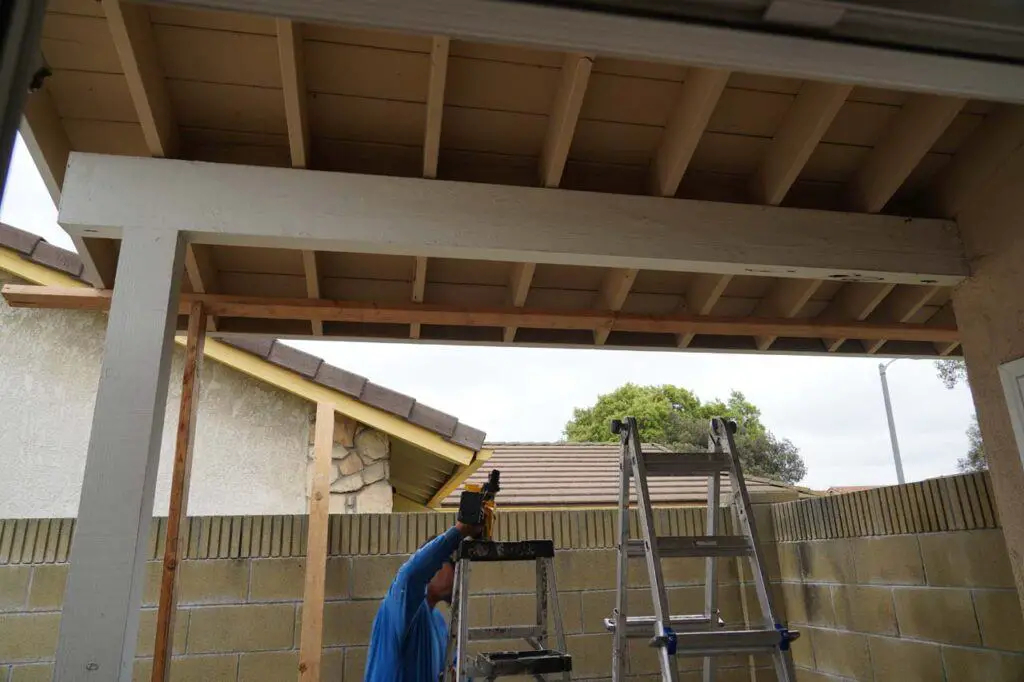
Step 1: Repair or Replace the Structure and Seal Up Leaks
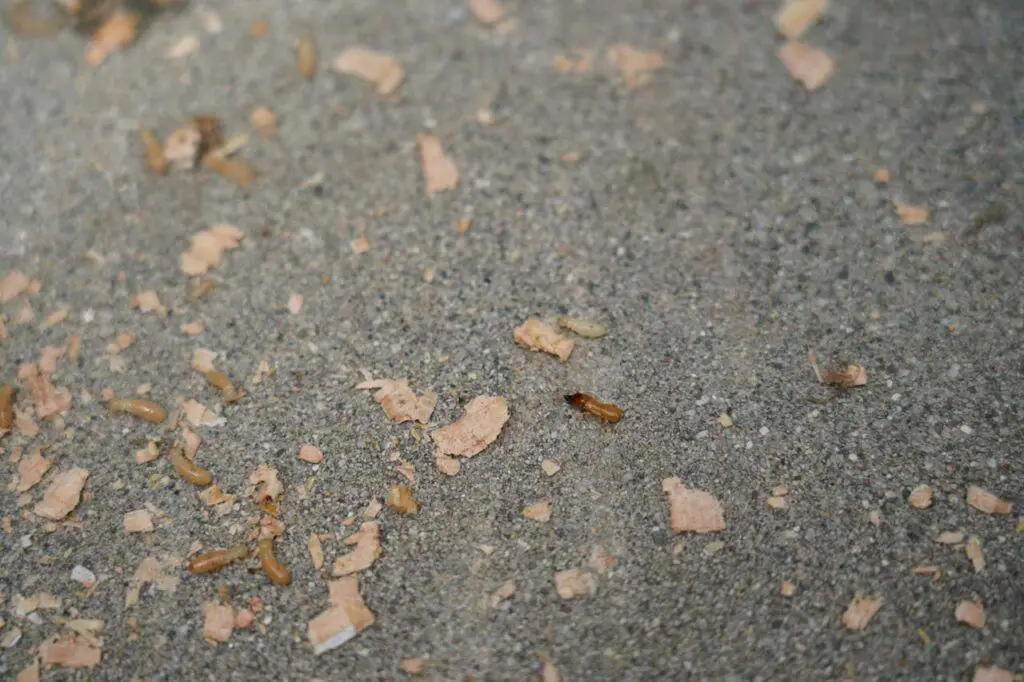
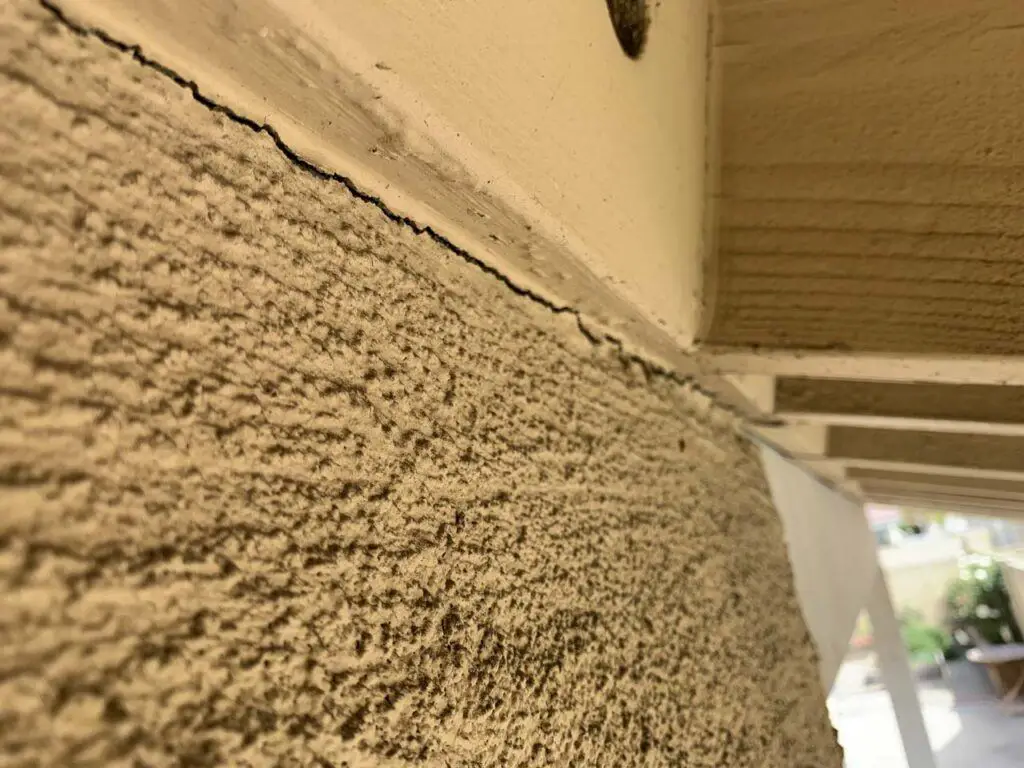
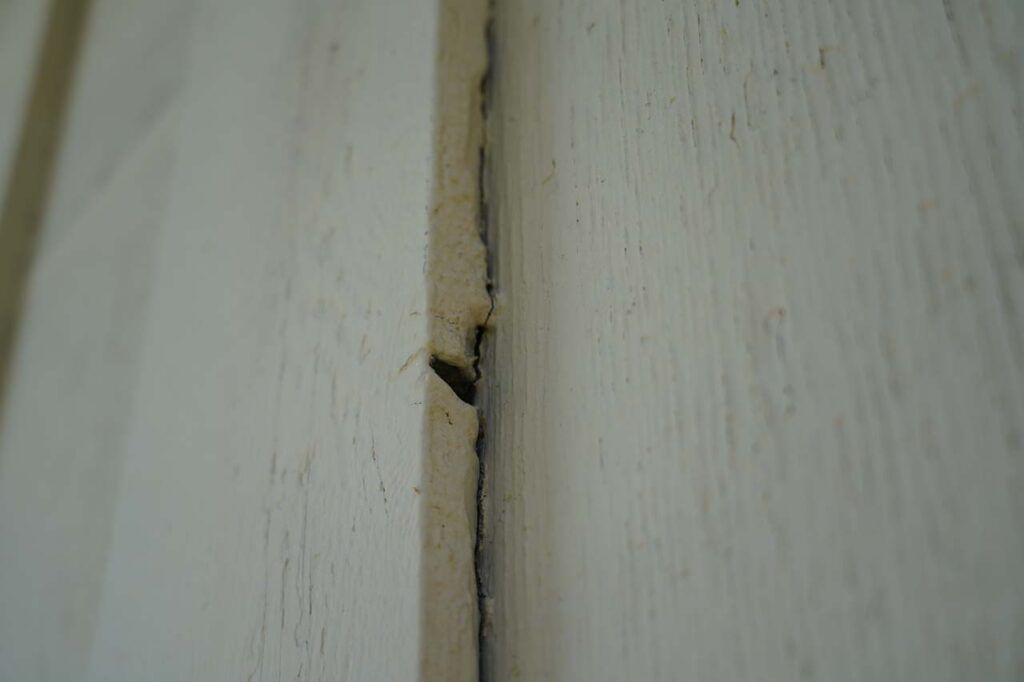
Termites target weakened wood, especially if the wood had been exposed to persistent water causing dry rot.
So by performing repairs or replacements to the affected wood, we’re trying to make it harder for termites to set up a colony in the house’s framework.
Of course, the repairs are useless if the root cause of the weakened wood isn’t addressed, and that’s where we really have to identify and correct leaks – whether from pipes or from roofing.
We’ve found that by going through this exercise, that’s when we started to see the extent of the termite infestation.
After all, we’re now in position to see what’s hidden behind the walls and panels (typically missed by walkaround inspections around the exterior of the house).
However, that can also mean that the repair costs can skyrocket as you uncover “new” issues.
Depending on the damage observed, some painful choices might have to be made in terms of prioritizing what gets done.
Just to give you an idea of one such decision that we made, we found a top plate (supporting some roofing rafters) that had been eaten through.
Fixing that problem meant replacing the top plate, but that involved either tearing up drywall on the inside or the stucco on the outside as well as the chimney that was in the way.
With some advice from a structural expert, we opted to live with it and prioritize other issues knowing the risks involved with a weakened top plate.
Speaking of a structural expert, we definitely wanted the woodwork to be performed by someone who really understands the structural aspect of the repairs he’s making.
We got burned in the past by a pest control company that made cosmetic repairs, which ultimately worsened the structure.
In essence, we wound up paying that company to make the problem worse!
Anyways, only once we got the underlying structure of the house in order were we in position to move forward with the next steps.
Step 2: Perform Preventative Work
As Step 1 made us painfully aware of the costly-yet-necessary issues that needed to be addressed, we naturally want to take steps to prevent these things from happening again.
This is where we want to do work to the house to decrease the chances (as well as slow down the spread) of the next termite infestation.
Of the preventative work to do, there were two main things that we addressed.
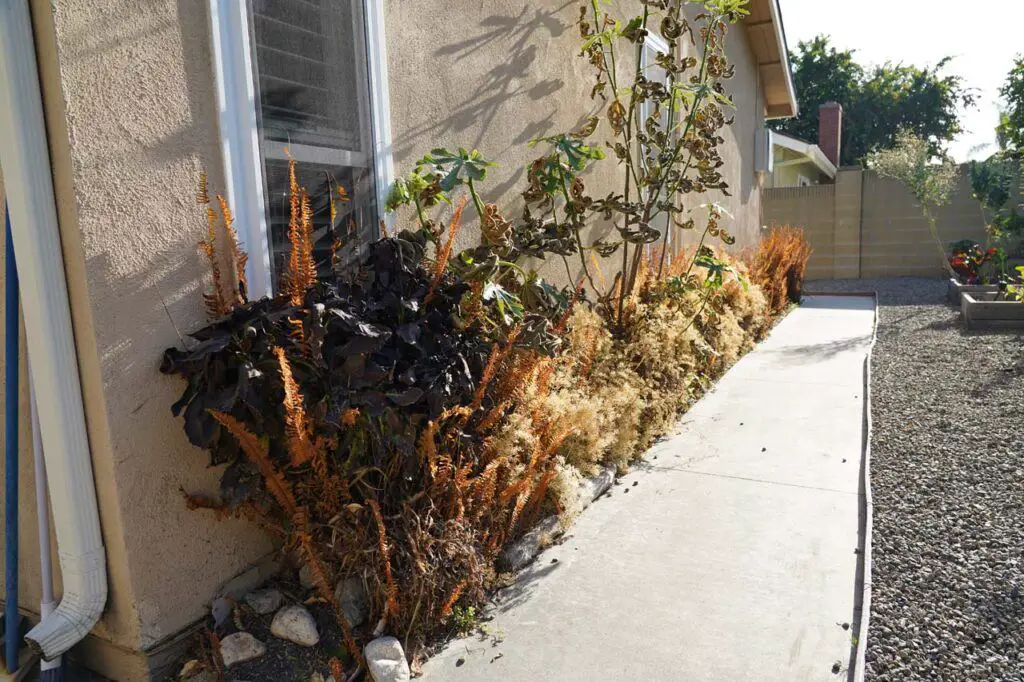
First, we had to do work to ensure water wouldn’t persist around the house.
This meant that we had to create a “barrier” around the exterior of the house (to the best of our abilities).
By this I mean we did work to:
- Clear the landscape touching the house,
- Put a concrete barrier to keep the soil further away from the house,
- Install gutters and drains to prevent pools or puddles touching the house
Another thing we did was to remove any trees touching the house since trees can bust into pipes as well as introduce more pests besides termites.
Finally, we also did work to treat any of the raw wood that was exposed to make it less attractive as termite food (let alone being an exploit by other pests like carpenter ants and rats).
Step 3: Fumigate (“Tenting”)
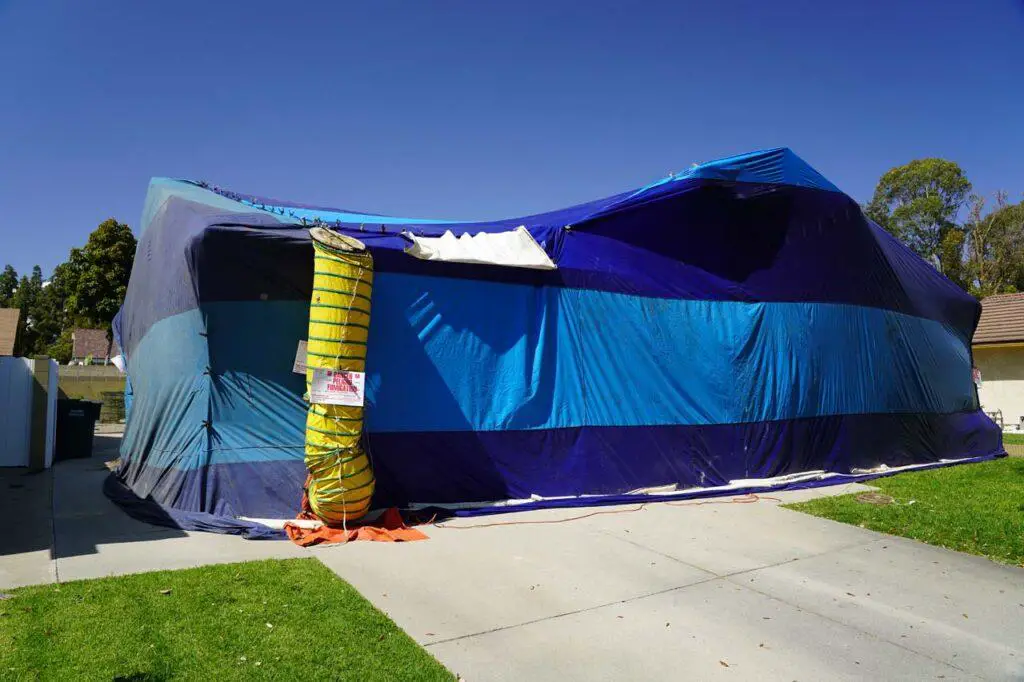
Fumigation (also called Tenting) is the practice of covering the home with a tent and trapping a noxious gas within to exterminate just about anything living inside.
It’s the only sure-fire way to exterminate termites in the unseen areas of the house (especially between walls), but it’s also inconvenient.
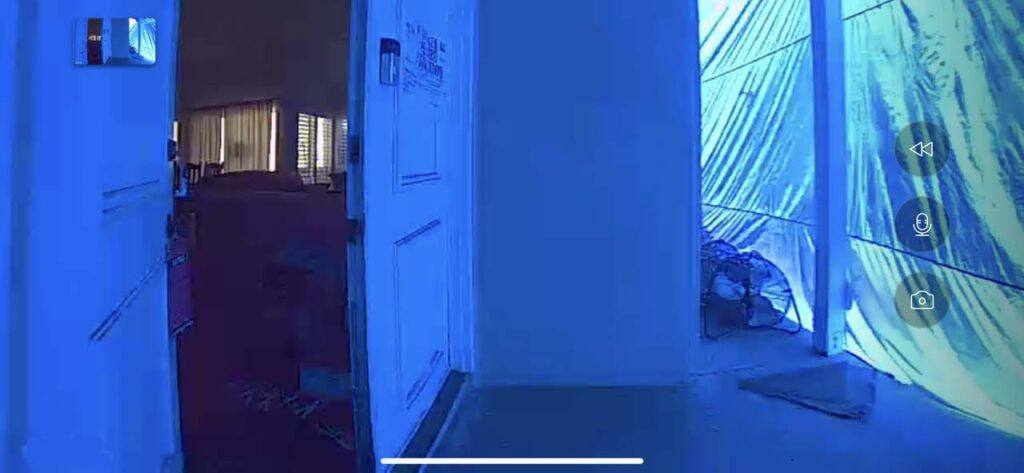
After all, we have to vacate the house for at least 3 days, which can mean paying for a motel or hotel during that time (or staying at a relative or friend’s place).
Moreover, we also have to properly put consumables (e.g. food, spices, sauces, oils, etc.) in air-tight bags to prevent the gas from killing any probiotics or changing its chemical makeup.
Not only is this time-consuming, but we didn’t have enough bags or space to properly cover everything.
So we actually had to bring the non-bagged perishables with us as if we were moving!
In addition, home burglary is always on our minds when it comes to tenting.
Now, tenting still doesn’t resolve subterranean termites (or “subs”) because the tent doesn’t go deep enough into the soil to kill them (assuming you have them).
So to mitigate these destructive insects (which can cause more destruction than drywood termites), we’d have to bait or treat the soil around the house.
If you do find that you have subs, then ideally, you’d want to treat for subs before any new concrete is poured around the house in Step 2.
Step 4: Paint With Termite Control In Mind
After tenting is complete, pretty much every living thing exposed to the gas has died.
So now we’re in position to finish off the preventative work by patching and painting the exterior of the house.
As much as it’s tempting indulge in painting for aethestics, the main goal for this step is to seal up all the entry points that would become trouble spots for the next termite infestation.
As easy as painting may sound, we learned the hard way that it’s worth paying a bit more (or spending the extra time if you’re doing it yourself) to get the job done right.
A cheaper, half-assed job meant that the paint didn’t even last us 5-7 years and we had to do it again.
But the better jobs would put enough coats of primer and/or paint to ensure that termites would have to work a bit harder for a bit longer to penetrate our house.
Step 5: Do Annual Termite Control Inspections
Last, but certainly not least, once the prior 4 steps have completed, then we’re in position to be on top of our termite situation by making it a habit to check the house every year.
By going through the trouble to pay attention to the house periodically, we can nip problems in the bud before they become huge problems forcing us to go through steps 1-3 again.
If we see a new infestation starting to happen, we can spot treat the trouble area.
In addition, the more we get in the habit of doing this inspection, the better we get at spotting the problems ourselves.
After all, we know our home better than anyone else since we’re living in it.
That said, there’s no substitute for professional inspection, but the more you know what to look for, the better you can tell if the professionals are being honest with you or not.
Final Thoughts / Conclusion

After living through the headache of being blindsided by the cost of termite control and the associated repairs done by termites, we finally feel like we’re on top of the situation.
While doing the 5 steps described above have forced us to pay more up front, we now know that it’s better to do that rather than to pay later and pay with “interest”.
Depending on the hidden or unknown issues yet to be uncovered, the risk of not addressing things immediately could mean that “interest” could spiral out-of-control.
Indeed, like all things in life, addressing problems early buys us more (less painful) options.
And when it comes to termite control, being on top of this situation makes this issue less of a homeowner headache!